This article aimes to build website for your project, hosted directly from your GitHub repository. GitHub offers a web hosting service whereby you can serve a static website from a GitHub repository. This platform, GitHub Pages, can be used with CloudFlare whilst using a custom domain name. In this tutorial, I will demonstrate how to use GitHub, Freenom, and Cloudflare together. By taking advantage of CloudFlare’s global network, you can utilise our CDN service to improve your site’s performance and security.
Jekyll
First, select your favorite Jekyll themes template. There are several free themes options, you can pick whatever you want. Some of them charges a bit, it really depends on you!
Second, fork the project you pick by clicking the Fork button at the top right corner of the page. Forking means that you now copied this entired project and all the files into your repository.
Third, name the preoject to <yourusername>.github.io. Click on Settings at the top and on that page you’ll have option to rename the project. After doing so, you will automatically set up your GitHub Pages.
Configuration
- Pull your repository to your local folder.
git clone git@github.com:<github_account_name>/<repo_name>.git
cd <repo_name>
Customize your website settings. Edit the
_config.ymlfile to change any settings you want.If you want to run your website locally, you should follow instructions from here. This is hard to set up initially, but once you complete all instuctions, it makes it super easy to keep your site up to date and you can debug your code locally by using
bundle exec jekyll servecommand.
Start blogging!
To add pages to your site, you can either write a markdown file (.md) or you can write an HTML file (.html). Files you create inside the _posts directory will be treated as blog entries. Note the format of the blog post files - they must follow the naming convention of YEAR-MONTH-DAY-title.md. After you successfully add your own post, you can delete the existing files inside _posts to remove the sample posts.
Write LaTeX in your Post
If you want to display math equations, you have to enable LaTeX support in markdown. Make sure you add this script to the <head> in _includes folder:
<script type="text/x-mathjax-config">
MathJax.Hub.Config({
  tex2jax: {
    skipTags: ['script', 'noscript', 'style', 'textarea', 'pre'],
    inlineMath: [['$','$']]
  }
});
</script>
<script src="https://cdn.mathjax.org/mathjax/latest/MathJax.js?config=TeX-AMS-MML_HTMLorMML" type="text/javascript"></script>
Get Free Domain
Freenom
Freenom is the world’s first and only free domain provider. You can set up or update certain DNS records and your repository settings to point the default domain for your GitHub Pages site to a custom domain.
- Go to https://www.freenom.com
- Check
Availability.
- If the domain name is available click
Get it now!and theCheckout.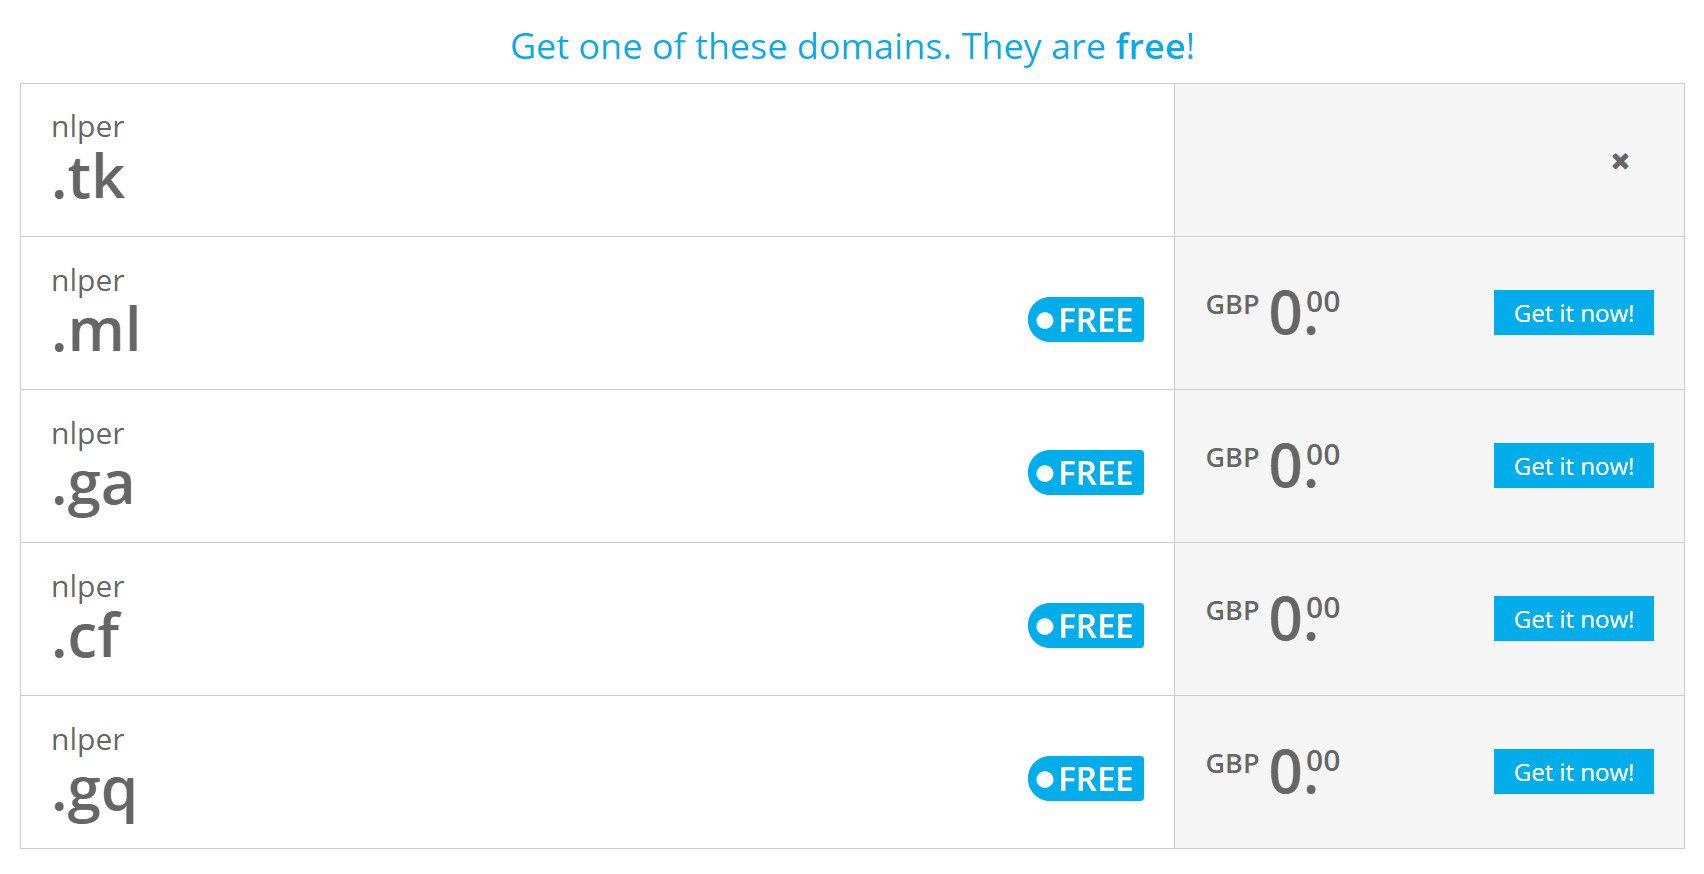
- Set the period to 12 months the click
Continue.
- Check
I have read and agree to the Terms & Conditions. Then clickComplete Order.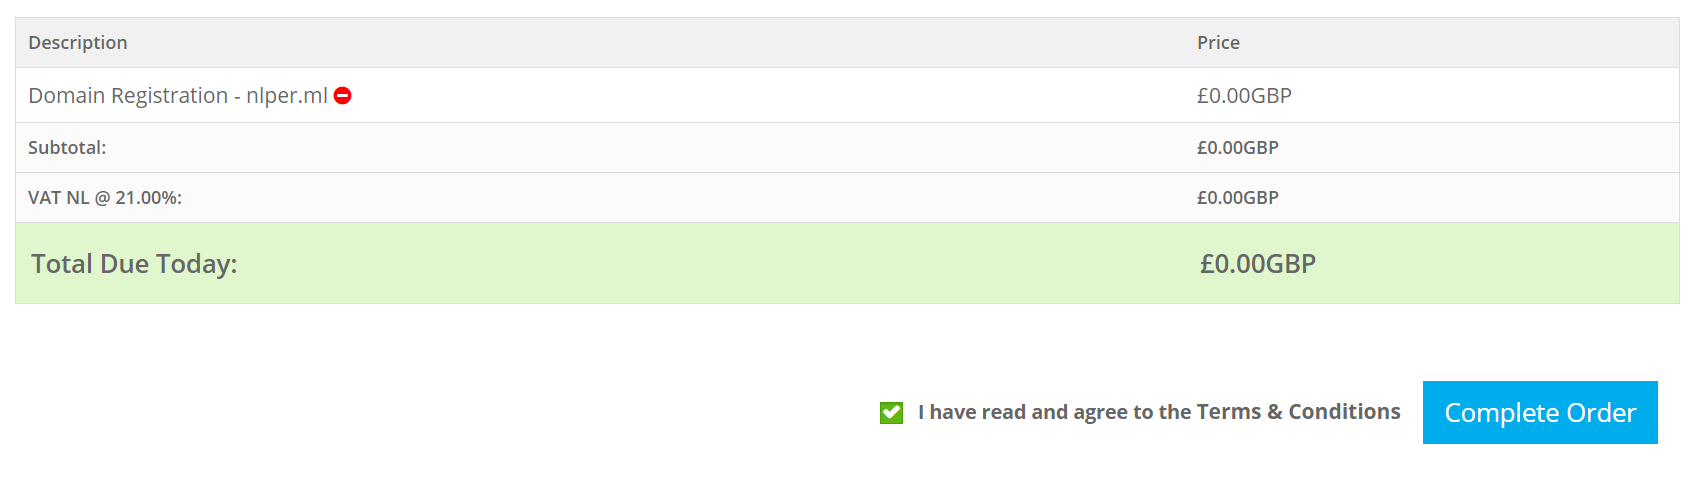
Cloudflare
Cloudflare is one of the biggest networks operating on the Internet. People use Cloudflare services for the purposes of increasing the security and performance of their web sites and services.
- Go to https://www.cloudflare.com and create an account.
- Click
Add siteinAccount Dashboardand put your site domain.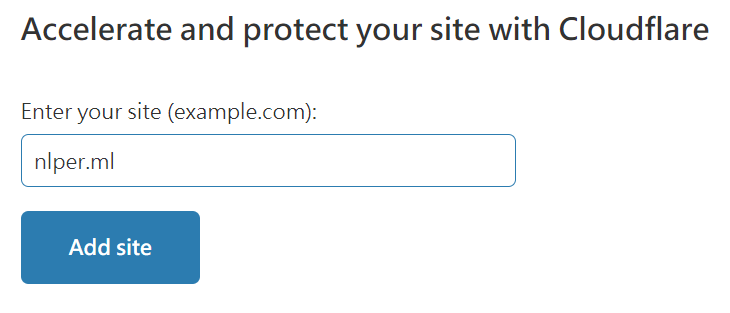
- Select
Freeplan and clickConfirm plan. - Wait till the Cloudflare checking the exsiting DNS record and click
Continue. - Cloudflare will give you two nameservers that you need to set in Freenom.
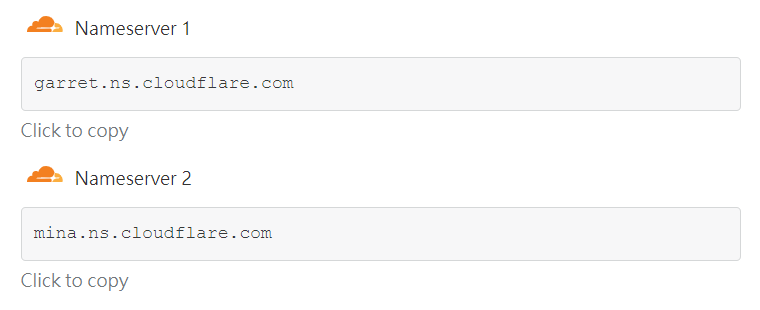
- Go back to Freenom
Click Service > My Domains.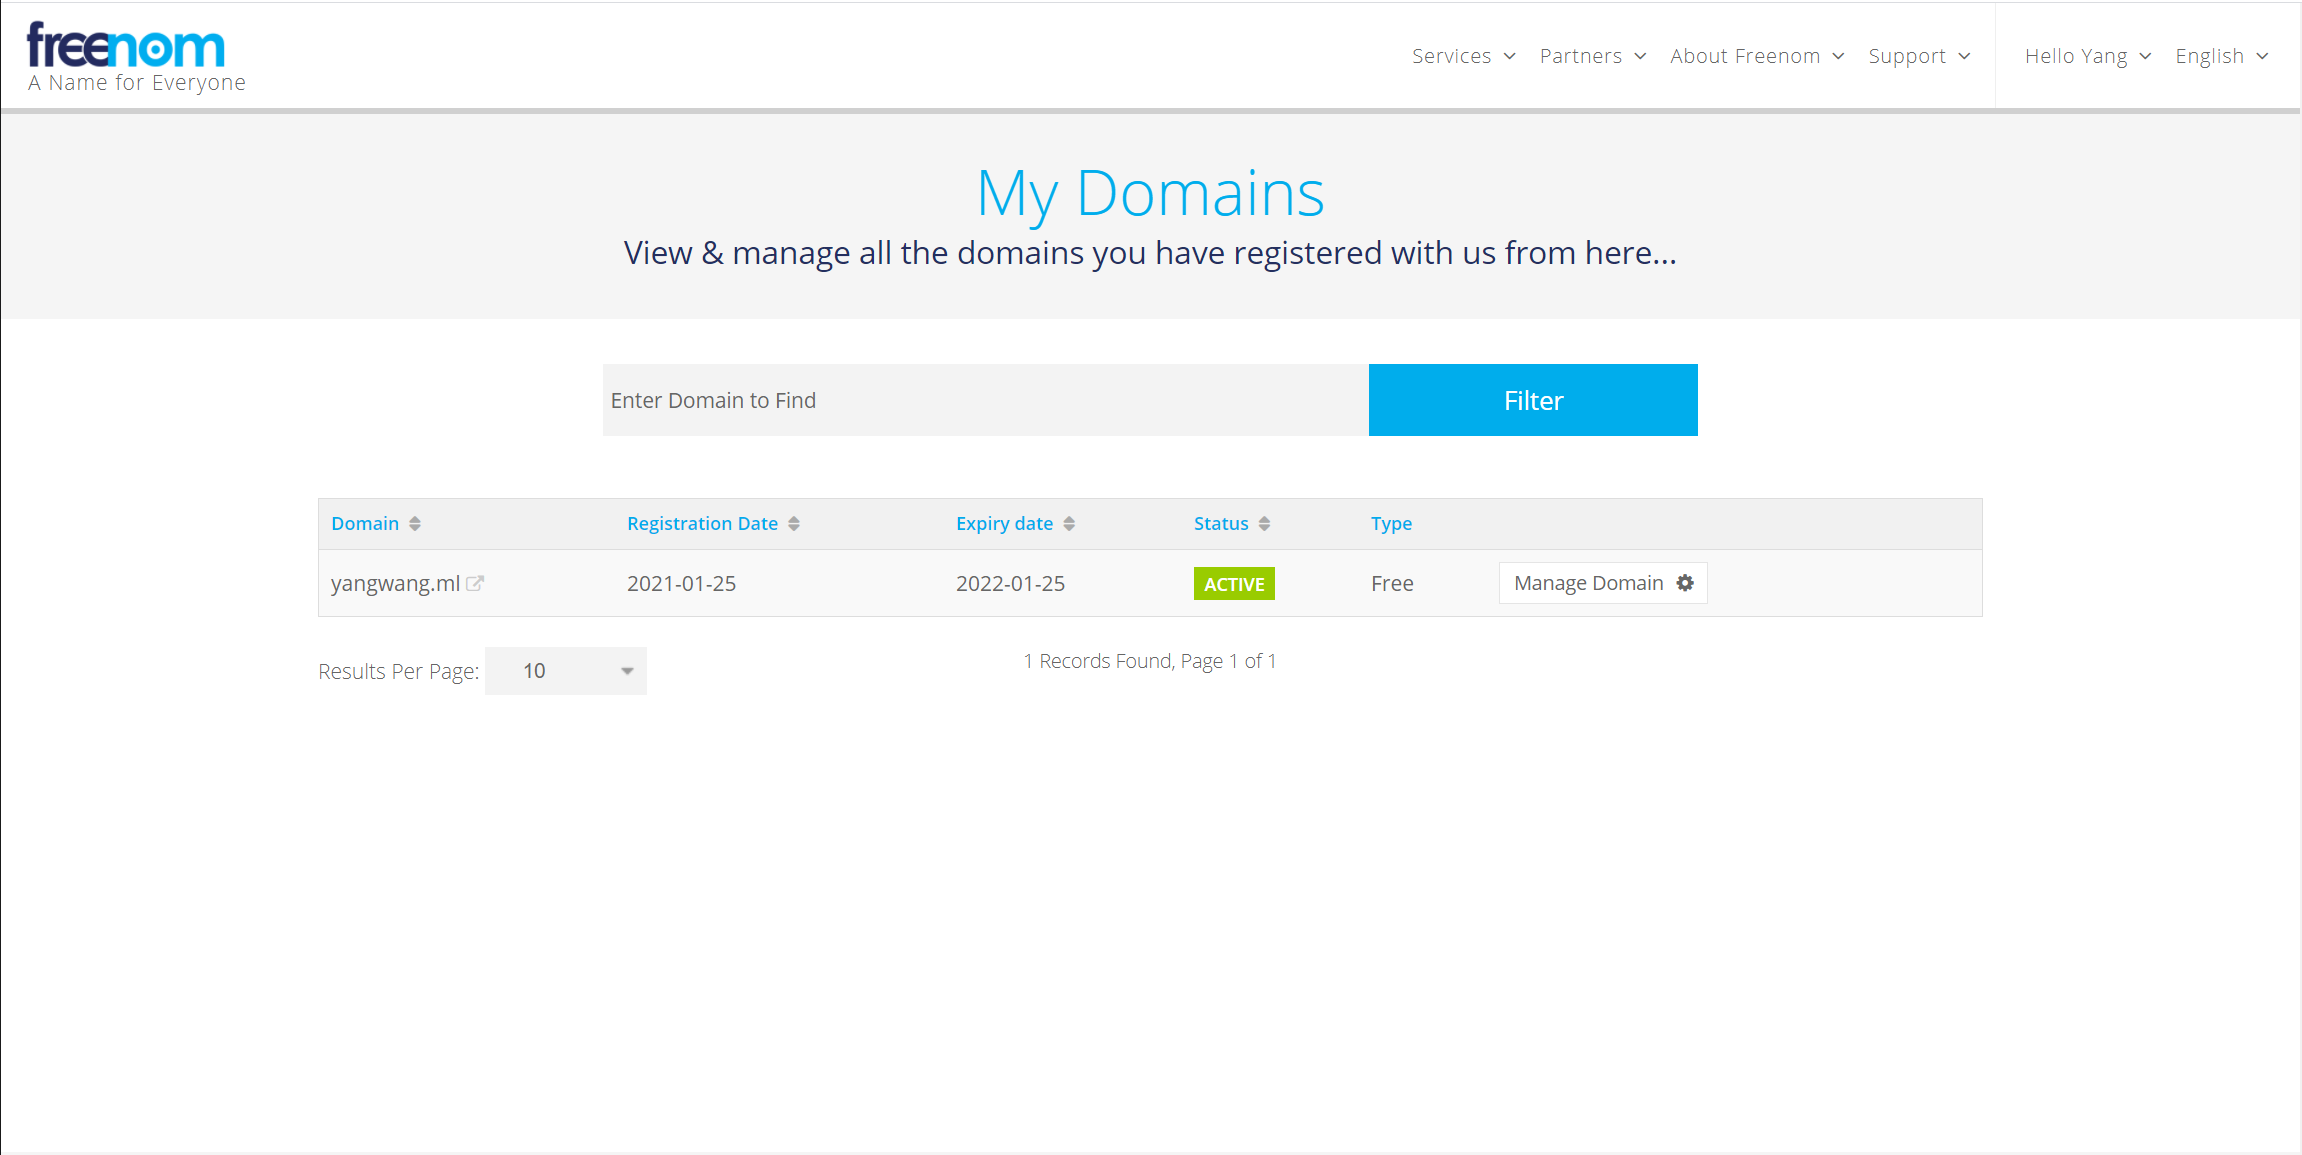
- Click
Management Tools > Nameservers.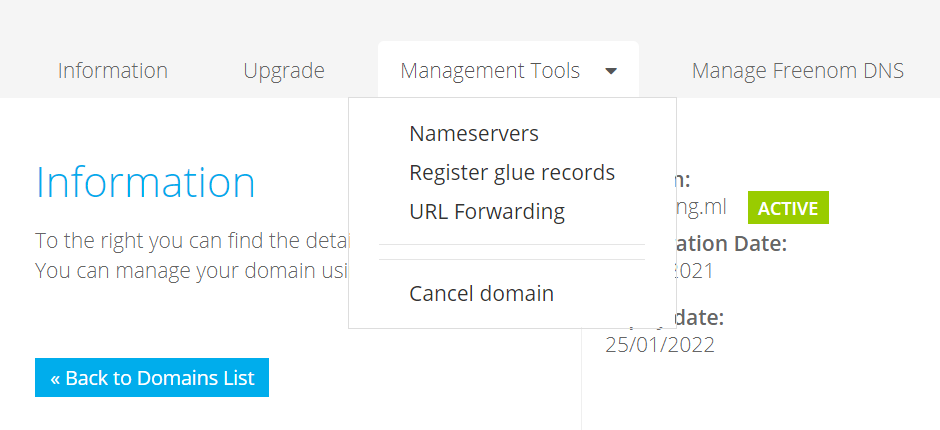
- Select
Use custom nameserversand add the cloudflare nameservers, which you get from step 5, to custom name servers. - Finish Setting up your Domain on Cloudflare and go to the Domain Dashboard. Open the
Cloudflare Settingsfor your domain, and change the SSL Setting toFlexible SSL.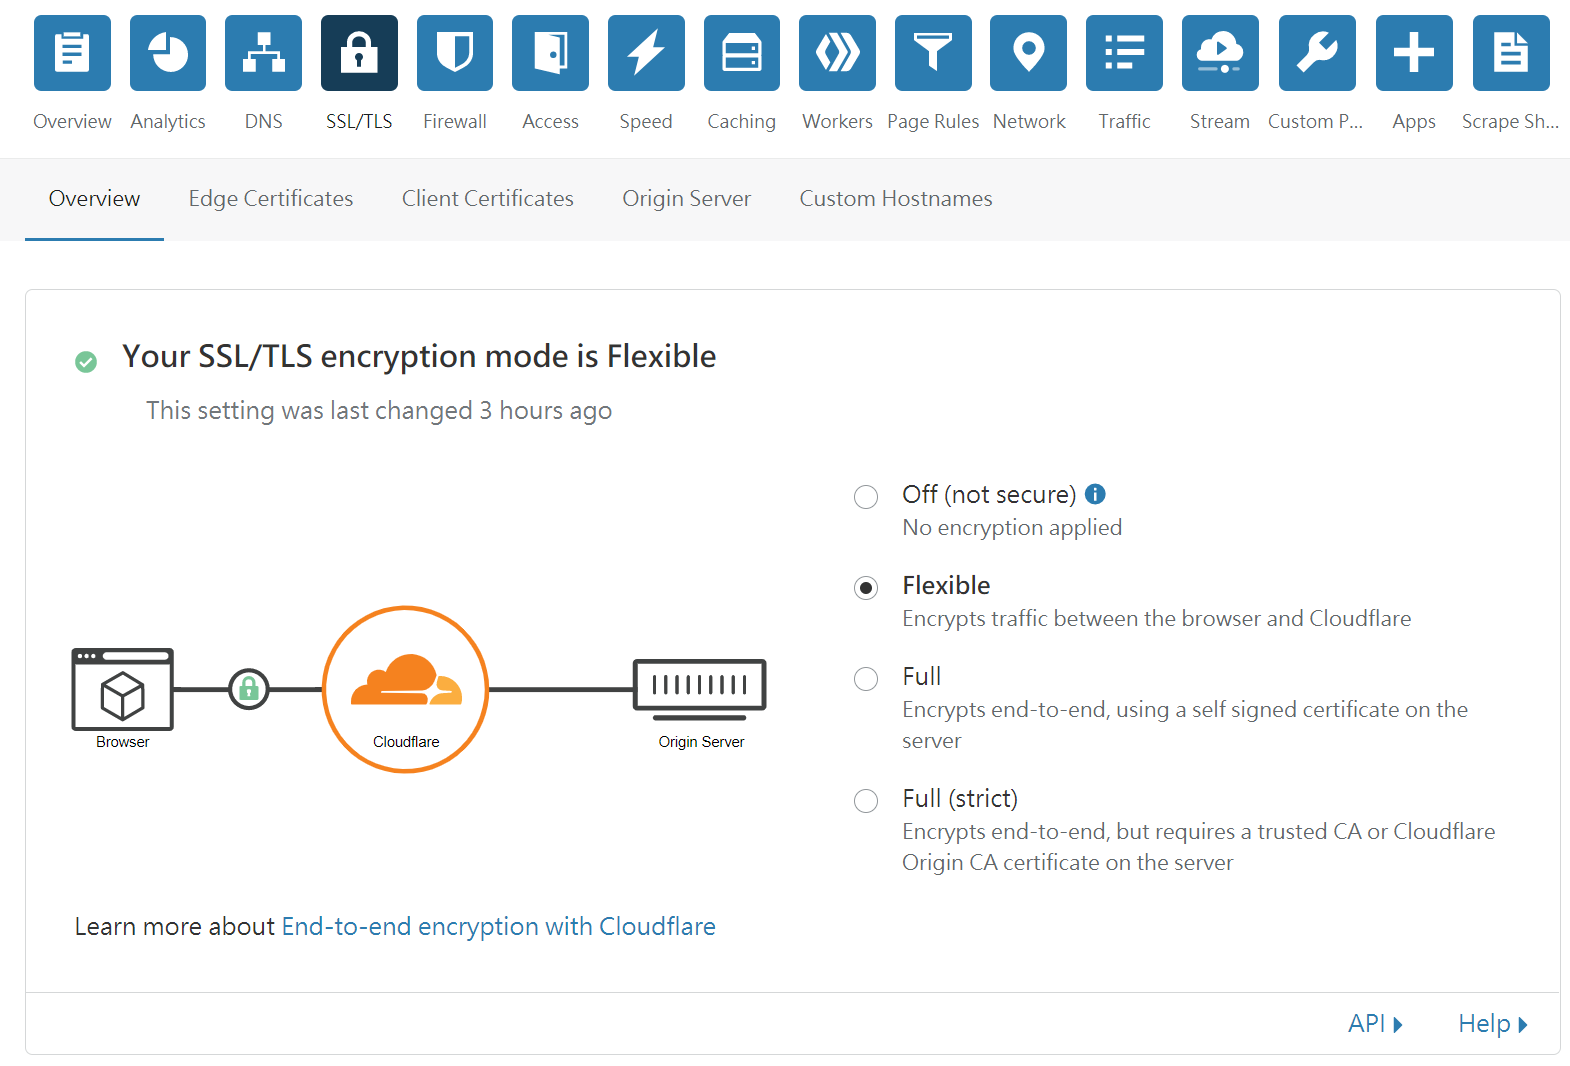
GitHub Pages
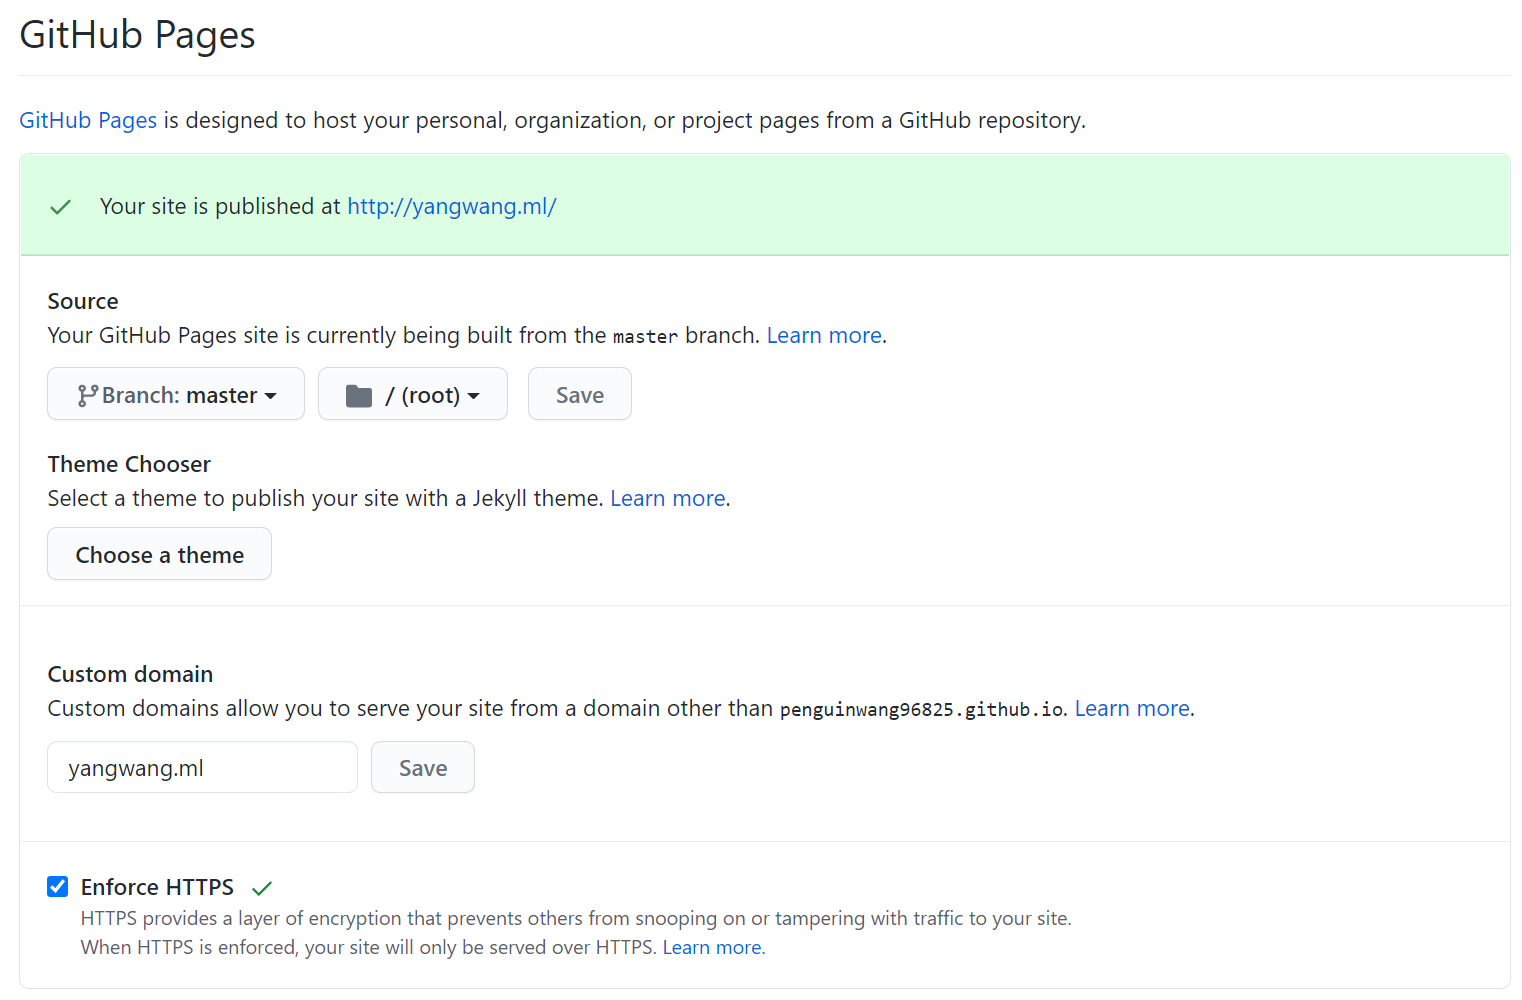
Go to github and select the repository you want to add custom domain and select settings. Scroll to bottom you will see section Custom Domain. Add your domain and save, now all are set and it will take a while, so please be patient.
Final Step
Letting Search Engines know
In your _config.yml, add these:
url: https://www.yoursite.com   # with the https protocol
enforce_ssl: www.yoursite.com   # without any protocol

# For example, my configuration is this:
url: https://nlper.ml
enforce_ssl: nlper.ml
Make sure you have a canonical link in your <head>:
<link rel="canonical" href=" { { site.url } }{ { page.url } }" />Redirect users to https
Add this script to the very top of your <head>:
<script type="text/javascript">
    var host = "yoursite.com";
    if ((host == window.location.host) && (window.location.protocol != "https:"))
        window.location.protocol = "https";
</script>
Conclusion
After Done You can enter your Domain name on browser and check. Hope this article help you build your website! Enjoy your Free Domain ❤